Why Weekend Projects Matter
Not every home upgrade needs to involve demolition or a contractor. Sometimes, it’s the smallest projects that bring the biggest value. A weekend well spent can mean a better-looking space, improved function, and maybe even a bump in resale appeal.
The trick is choosing your battles. Swapping out outdated hardware, touching up paint, or upgrading lighting can be done in a day, and they leave a visible impact. These aren’t just cosmetic fixes—they’re strategic upgrades that make your space feel fresh without draining your budget or schedule.
Plus, when time is tight, weekend projects offer momentum. You see progress fast, you check something off your list, and the result boosts both your space and your confidence. No full renovation required. Just smart, focused action that moves the needle.
Project 1: Refresh Interior Walls
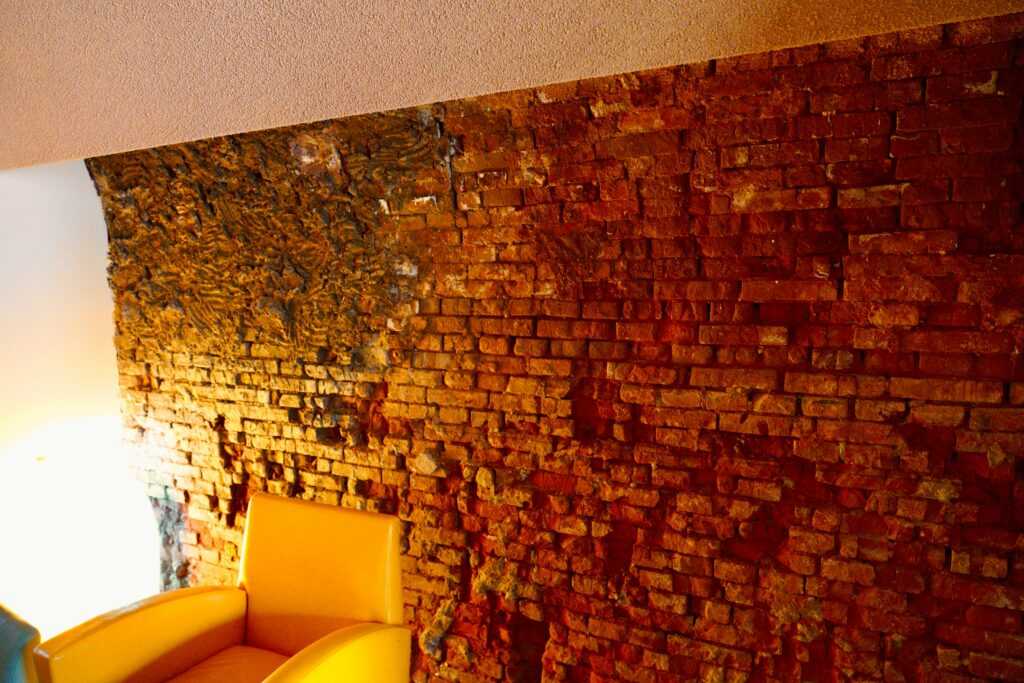
If your walls are looking tired, you don’t need a full-blown paint job to make a difference. Choose one accent wall—behind the couch, the head of your bed, or along a hallway—and give it a bold new color. Or, if a full wall feels like too much, focus on high-traffic areas where scuffs and chips stand out. Touch-ups can go a long way toward making a space feel polished again.
Use a sample-size pot before you commit. Paint reacts differently depending on lighting and time of day. What looks warm at noon can feel cold at night. Testing first avoids regret and extra coats later.
Skip the shortcuts on prep. Wash the walls, tape your edges, and don’t skip primer if needed. Clean lines and a smooth surface are what separate amateur rush jobs from those that look professionally done. A few hours here can change the feel of a room all weekend—and far beyond.
Project 2: Upgrade Light Fixtures
Brightening up your home doesn’t always require major upgrades. Swapping out old or outdated light fixtures can make a dramatic difference—both visually and functionally.
Why Change Makes Sense
Old lighting can date a room more than you realize. New fixtures offer a quick style update that feels modern and refreshed.
– Outdated designs can clash with current decor
– New materials and shapes give spaces a clean, updated look
– Light placement and fixture style alter the room’s visual impact
Save Energy and Money
Upgrading to energy-efficient LED bulbs is a subtle shift with long-term benefits.
– LEDs use up to 80% less energy than traditional incandescent bulbs
– Longer lifespan = fewer replacements over time
– Available in a range of brightness and warmth levels to suit any mood
Lighting That Lifts More Than Rooms
The right lighting affects more than aesthetics—it impacts how people feel and function within the space.
– Warm lighting creates a relaxed, inviting atmosphere—perfect for bedrooms or living areas
– Cooler lighting enhances focus and clarity—ideal for kitchens, workshops, and offices
– Strategic placement improves both ambiance and task performance
Quick Install Tips
Before starting, always turn off the circuit. Check that your new fixture is compatible with existing wiring and mounting brackets.
– Take photos of wiring before disconnecting anything
– Assemble new fixtures before mounting to save time
– Consider dimmer switches for adjustable brightness in shared spaces
Project 3: Revamp Cabinet Hardware
Updating cabinet hardware is one of the fastest ways to give your kitchen or bathroom a polished, modern look—without tearing anything apart or spending much.
A Quick Facelift That Goes a Long Way
Changing out drawer pulls and cabinet knobs can make your space feel brand new. Choose hardware that complements your existing color palette and design aesthetic.
– Use matte black, brass, or brushed nickel for a modern update
– Consider unexpected shapes or textures for more visual interest
– Replacing dated hardware instantly raises the room’s style quotient
Mix and Match with Intention
Blending finishes can work beautifully—when done deliberately.
– Pair warm tones (like gold or brass) with warm elements like wood or cream walls
– Use cooler tones (like chrome or brushed nickel) for clean, minimalist styles
– Keep your mix consistent across the space to avoid a chaotic look
Precision Matters: Don’t Rush the Details
Poor measuring or rushed installation can turn a simple upgrade into a headache. Get it right the first time:
– Always measure existing hole spacing—standard sizes vary
– Use a hardware template to align new holes evenly
– Drill slowly to avoid damaging cabinet surfaces
A 30-minute hardware swap can easily refresh your room—just bring the same care and precision you would to a larger project.
Project 4: Create Simple Storage Solutions
Storage doesn’t have to mean more bins stuffed under the bed. Think smarter. Floating shelves give you space without eating up floor area—perfect over desks, beds, even toilets. Over-the-door organizers are underrated, especially in closets or pantries where things tend to pile up. They’re easy to install and instantly cut clutter.
Look at corners and walls that usually get ignored. A narrow vertical shelf or hook rail can turn dead zones into useful square footage. Even small tweaks like risers inside cabinets or adding baskets to shelving units help pull things together.
Here’s the rule: function comes first, but design matters. Keep the look clean, purposeful. Match shelving hardware with your existing finishes, keep lines simple, and avoid overcrowding. When done right, it’s storage that works and actually looks good.
Project 5: Improve Curb Appeal
First things first—front doors matter more than you think. A fresh coat of paint, whether it’s a bold pop of color or just a clean refresh, signals care before anyone even walks in. Swap out dated house numbers while you’re at it. Sleek fonts, matte metals, or contrast plates take minutes to install and look light-years better.
Then, hit the green. A couple of potted plants by the entry can instantly soften the space and add life. Go low maintenance—think hardy succulents or evergreens. No need to go full garden center.
Finally, walk your own walkway. Clear the path, trim the hedges, sweep off the stoop. None of it’s glamorous, but it sets the stage. Curb appeal lives or dies in the details—and most of them are dead simple to fix.
Project 6: Seal and Insulate
Keeping your home comfortable and energy-efficient doesn’t have to involve major renovations. Sealing and insulating key areas can make a noticeable difference—all in a weekend.
Stop Drafts at the Source
Drafty areas are a major cause of temperature loss. One of the easiest fixes? Apply weatherstripping to leaky windows and doors.
– Check for air leaks around window and door frames
– Use adhesive-backed foam strips or V-strip tension seal for a quick seal
– Replace old or damaged seals with durable, weather-resistant options
Insulate Key Spaces
Attics, basements, and garages are often overlooked but can be major sources of heat loss.
– Inspect attic insulation—add batts or blown-in insulation if it’s sparse
– Install insulation panels or rolls in garage walls (especially shared walls)
– Use spray foam around vents and pipes for a tighter seal
Why It Matters
A sealed and insulated home is not only more comfortable—it’s more cost-effective.
– Reduces heating and cooling bills year-round
– Lessens wear-and-tear on HVAC systems
– Creates a more consistent indoor climate, especially in older homes
This simple weekend project pays off quickly in both savings and comfort.
Pro Tips to Avoid Rookie Errors
Let’s be blunt: most DIY disasters start with rushing. Every seasoned weekend warrior lives by this rule—measure twice, cut once. It’s not just a saying, it’s a survival tactic. Forget this and you’re buying another plank, rewiring a fixture, or worse—patching up a wall you gouged with the wrong drill bit.
Surface prep isn’t optional either. Sand, clean, prime—whatever the project needs, do it right before you start layering on paint, caulk, or hardware. Skipping this step is like pouring concrete on a bed of leaves. Looks fine for a bit, then cracks right through.
Want to steer clear of the common traps? Read more here: Top Mistakes to Avoid When Doing DIY Renovations
Final Touch: Small Details, Big Difference
You’ve painted, fixed, organized—and now it’s time to bring it all together. This is where the final touch comes in. Swapping out old, yellowed outlet covers for fresh white or sleek black ones? Takes five minutes, looks like a pro did your install. Outdated curtain rods dragging down an otherwise clean living room? Replace them and give the space a quick visual lift.
Next, think small upgrades with real function: wall hooks in entryways or bedrooms tame clutter fast. Smart switches are another quick win—easy to install and suddenly your lighting feels modern. As for messy cords and chargers, a bit of organization here keeps rooms feeling intentional, not chaotic.
These subtle tweaks don’t scream “renovation,” but they tighten up your space. They make the difference between a house that looks fine and one that feels finished.
Wrap-Up: Make It Count
Not every project needs to be epic. The key is to pick upgrades that actually move the needle—something you can start Friday night and wrap by Sunday afternoon. Be honest about your time, your tools, and your tolerance for half-finished projects.
Start with one goal, not ten. A new light fixture, organized linen closet, or a fresh coat of paint can do more than just look better—it helps you feel at home. Momentum matters. Each small win builds confidence, adds value, and makes the next task feel doable.
Also? Finish what you start. Incomplete DIYs don’t just stall progress—they drain energy every time you walk past them. Focus, finish, then enjoy what you’ve improved before jumping into the next thing.
 Zyphara Kryndall is a botanical scientist and certified horticulturist bringing rigorous scientific research and advanced horticultural expertise to Garden Nation's audience. With a background in plant physiology, environmental science, and practical greenhouse management, Zyphara bridges the gap between academic botany and practical home gardening, helping readers understand the "why" behind successful growing techniques.
Zyphara's contributions to Garden Nation explore advanced propagation methods, plant genetics and breeding principles, soil microbiology, photosynthesis optimization, and cutting-edge horticultural technologies. She translates complex scientific concepts into understandable, actionable advice that empowers gardeners to grow plants more successfully. Whether discussing nutrient uptake, light spectrum requirements, or the microbial relationships in healthy soil, Zyphara's science-informed approach elevates gardening from traditional practice to informed craft.
Her specialties include indoor gardening technology, hydroponic and aquaponic systems, plant tissue culture, disease management through understanding plant biology, and optimizing growing conditions for maximum health and productivity. Zyphara is fascinated by how understanding plant physiology enables gardeners to troubleshoot problems more effectively and create ideal growing environments for different species.
Beyond her contributions to Garden Nation, Zyphara actively collaborates with university research programs and botanical institutions, translating recent horticultural discoveries into accessible content for home gardeners. She regularly attends horticultural conferences, maintains connections with plant breeding programs, and stays at the forefront of innovation in growing technology. Her mission is to democratize botanical knowledge, proving that scientific understanding and practical gardening success are not exclusive to professionals but accessible to anyone willing to learn.
Zyphara Kryndall is a botanical scientist and certified horticulturist bringing rigorous scientific research and advanced horticultural expertise to Garden Nation's audience. With a background in plant physiology, environmental science, and practical greenhouse management, Zyphara bridges the gap between academic botany and practical home gardening, helping readers understand the "why" behind successful growing techniques.
Zyphara's contributions to Garden Nation explore advanced propagation methods, plant genetics and breeding principles, soil microbiology, photosynthesis optimization, and cutting-edge horticultural technologies. She translates complex scientific concepts into understandable, actionable advice that empowers gardeners to grow plants more successfully. Whether discussing nutrient uptake, light spectrum requirements, or the microbial relationships in healthy soil, Zyphara's science-informed approach elevates gardening from traditional practice to informed craft.
Her specialties include indoor gardening technology, hydroponic and aquaponic systems, plant tissue culture, disease management through understanding plant biology, and optimizing growing conditions for maximum health and productivity. Zyphara is fascinated by how understanding plant physiology enables gardeners to troubleshoot problems more effectively and create ideal growing environments for different species.
Beyond her contributions to Garden Nation, Zyphara actively collaborates with university research programs and botanical institutions, translating recent horticultural discoveries into accessible content for home gardeners. She regularly attends horticultural conferences, maintains connections with plant breeding programs, and stays at the forefront of innovation in growing technology. Her mission is to democratize botanical knowledge, proving that scientific understanding and practical gardening success are not exclusive to professionals but accessible to anyone willing to learn.