Why DIY Renovations Can Go Sideways Fast
The idea behind DIY is simple: save money, learn a skill, personalize your space. And for a lot of folks, it works—until it doesn’t. The truth is, cutting costs without a plan often means cutting corners. That’s where things get expensive fast.
First-timers tend to underestimate how complicated even “simple” projects can be. Ripping out a wall might seem like just swinging a hammer, but what happens when you find hidden wiring or mold? Painting a room? Easy—until you realize your prep work was sloppy and now the finish looks like a rushed job.
Knowing when to power through and when to wave the white flag is key. If you’re fixing drywall or changing out cabinet hardware, go for it. Want to rewire a breaker box or take on major plumbing? That’s pro territory. Just because there’s a YouTube tutorial doesn’t mean it should be your blueprint.
A smart DIYer isn’t afraid to try—but also isn’t afraid to call someone who’s done it a hundred times before. That decision can be the difference between a weekend win and a six-week disaster.
Mistake #1: Skipping Permits and Building Codes
Putting off permits is one of those DIY shortcuts that seems harmless—until it isn’t. Sure, skipping the formalities might save you a couple hours today, but down the line, it can eat thousands off your home’s resale value or stop a sale in its tracks. Inspectors don’t care how well the tile turned out if you busted a bearing wall without paperwork.
Unpermitted work also puts safety at risk. Improper wiring or shortcuts on structural changes can create fire hazards, collapses, or worse. And if someone gets hurt? You’re on the hook. Even seemingly minor jobs, like converting a garage or changing plumbing routes, usually require a nod from the city.
Here’s a quick gut check: You probably need a permit if your project involves:
– Moving or adding walls
– Altering electrical or plumbing systems
– Installing new windows or doors
– Major HVAC work
– Anything that touches fire safety (e.g., fireplaces, smoke alarms)
Bottom line: Don’t wait for a nasty surprise. Call your local building department before you swing that first hammer.
Mistake #2: Underestimating the Budget
The $500 Transformation? Think Again
One of the biggest misconceptions in DIY renovation is the idea that you can overhaul a room with just a few hundred dollars. While a fresh coat of paint or some new cabinet hardware might come close, full-scale renovations nearly always cost more than expected.
– Budget inspiration online often overlooks real-world costs
– Small projects can balloon, especially with hidden issues
– Professionals price work to include tools, labor, and contingencies—DIYers often forget those extras
Hidden Costs That Creep In
Even if you’re doing all the labor yourself, there are a number of expenses that sneak up on first-time renovators:
– Tool expenses – Buying or renting tools you don’t already own like tile saws, levels, or power sanders
– Waste disposal – Dump runs, rental bins, or specialty recycling for old materials
– Supply runs – Multiple last-minute hardware store visits (time adds up, too)
– Unexpected fixes – Discovering underlying issues like mold, rot, or uneven subfloors
Use the 20% Rule (At Least)
A good rule of thumb: always budget 20% more than your initial estimate. Consider it your DIY safety net.
– Base budget: Estimate your total cost—including materials, rentables, transport, and contingency
– Add 20% buffer: This protects you from surprise expenses without derailing your project
– Keep a log: Track every purchase to identify exactly where your money is going
If you come in under budget, great—you’ve got extra money for upgrades or your next project. But if you don’t build in breathing room from the start, you’re almost guaranteed to overspend.
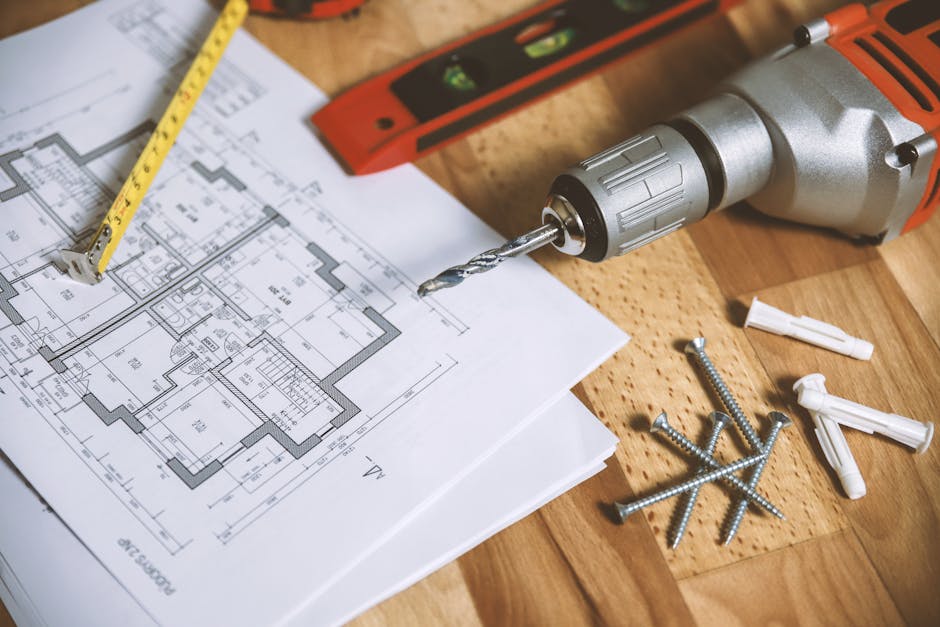
Mistake #3: Not Planning the Process
When excitement strikes, it’s tempting to just start swinging hammers—but without an actual plan, your DIY renovation could stretch far longer (and cost more) than you bargained for.
Why Lack of Planning Slows Everything Down
Jumping into a renovation without a clear timeline often leads to long delays, scheduling conflicts, and frustration. It’s not about being rigid—it’s about setting a realistic path forward.
Common delays caused by poor planning:
– Running out of materials midway through a task
– Needing to redo work due to skipped steps or wrong order
– Weather setbacks that could’ve been avoided with better prep
Plan the Scope Before You Start
Knowing what you’re tackling ahead of time avoids decision paralysis halfway through.
Here’s what to define upfront:
– Project scope: Are you painting a single room or doing a full kitchen remodel?
– Timeline expectations: How much time do you have each week to realistically dedicate to the job?
– Budget breakdowns: What are the must-haves versus the nice-to-haves?
Sequence Matters
DIY projects often fall apart when steps are done out of order. Doing things backwards or prematurely creates more work later.
Avoid these common sequencing mistakes:
– Installing floors before painting walls (hello, splatter!)
– Upgrading appliances before checking electrical capacity
– Mounting fixtures before addressing wall structure or plumbing
Don’t Forget External Factors
Weather and daylight hours can play a huge role in how successful a project is—especially for outdoor or semi-exposed work.
Ask yourself:
– Is this project season-appropriate?
– Do I have the lighting or power tools needed for early nights or bad weather?
Planning may not be the flashiest part of a DIY job—but it’s the part that saves your time, budget, and sanity in the long run.
Mistake #4: Using the Wrong Tools or Materials
Cheap Now, Expensive Later
It’s tempting to grab the lowest-cost option—especially when you’re juggling expenses across a big DIY project. But cheaper tools and materials often wear out faster, perform worse, and leave you with subpar results.
– Low-quality paint may need more coats and won’t hold up to wear
– Discount flooring can warp, peel, or stain with minimal use
– Inferior adhesives, sealants, or fasteners lead to early repair needs
Bottom line: Cutting corners on materials usually leads to more time, more cost, and more do-overs.
That “Pro Finish” Looks Better for a Reason
A clean, professional-looking result doesn’t require a hired crew—but it does demand the right tools and some patience.
– Using the wrong tool can damage materials and compromise safety
– Poor technique with subpar equipment often leads to visible flaws: uneven tile spacing, poorly cut trim, streaky paint
– Skipping prep work or using outdated materials can ruin even a well-executed design
Invest in tools that match the task. Even just renting high-quality gear can be a major step up from basic DIY kits.
Rent vs. Buy: Be Strategic
Not every tool in your project needs to end up in your garage forever. Consider what you’ll realistically use again.
When to Rent:
– Power tools like floor sanders, tile cutters, or demolition hammers
– Specialized gear for one-off jobs (pipe threaders, concrete mixers)
– Larger, pricier items that take up storage space
When to Buy:
– Basic tools you’ll use often—like drills, levels, or quality paintbrushes
– Mid-range gear for multiple stages of a project
– Safety equipment: eye protection, respirators, hearing protection
Making the right call on tools and materials doesn’t just save money—it sets the tone for a smoother renovation process with results you’re proud of.
Mistake #5: Ignoring Structural or Electrical Realities
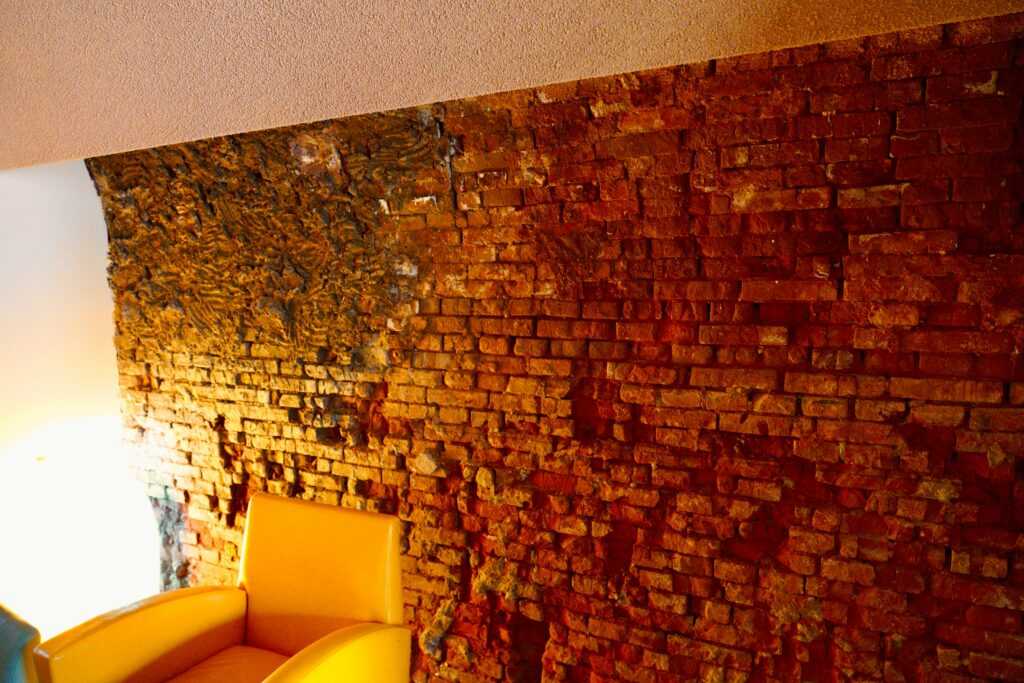
It’s one thing to knock out drywall. It’s another to cut into a wall that’s holding up half your house. Load-bearing walls are not DIY-friendly unless you really know what you’re doing—or are working side-by-side with someone who does. Before tearing anything open, get your hands on the building plans or bring in an inspector. If that wall runs perpendicular to ceiling joists or feels denser than others, assume it’s structural until proven otherwise.
Wiring is another area to respect. Just because it looks neat on a YouTube tutorial doesn’t mean it’s simple. Mistakes here can be deadly—not exaggerated. Even small errors can fry your panel or make your house a fire risk. If you’re not trained, don’t guess. Hire an electrician or at the very least, get them to do a consult before you start moving outlets or fixtures.
Before opening up any wall or ceiling, inspect thoroughly. Look for outlet placement, switch location, ducting, or water lines. Use a stud finder with AC detection, cut small access holes to peek inside, and plan your cuts carefully. A little caution upfront can save you thousands—and a whole lot of pain—later.
Mistake #6: Poor Prep and Clean Work Habits
It’s not the paint or the tiles that fail—it’s the prep work you skipped. All those hours you spent picking the perfect shade or obsessing over floor patterns won’t matter if the surface underneath is a mess. When paint starts peeling, tiles lift, or trim sits crooked, it’s usually because someone rushed through the basics.
Prep feels boring because it is. But it’s also where the magic happens. Sand everything. Wipe it down. Use a level. Tape like you actually care about clean lines. And then double-check all of it. It’s faster to do it right the first time than to fix it later when things go south.
Also: clean as you go. A messy site isn’t just annoying—it’s dangerous. Tools go missing, cuts happen, things fall over. Stay tidy and you’ll move faster, do better work, and avoid dumb accidents.
Want it to look pro? Start with prep. Always.
Mistake #7: Following Trends Instead of Function
Seeing a sleek kitchen remodel on social media is one thing. Living with it is another. That minimalist concrete island or floating shelf situation might rack up likes, but if it doesn’t serve your daily routine—or stand up to wear and tear—it’s not a smart investment. Your home needs to work for you, not just for the camera.
Before diving in, ask: Does this upgrade solve a problem? Does it make the space more efficient? More liveable? Function should lead, style can follow. That doesn’t mean you can’t be creative—it just means you think long-term. Go for improvements that add real utility: better lighting, built-in storage, smart layouts. 10 years from now, those are the updates that still hold up.
If you’re looking for stylish ideas that also make sense on a budget, check out Modernizing Your Home on a Budget – Smart Strategies.
Final Thoughts: Smart DIY Means Knowing Your Limits
Renovating should feel like progress, not punishment. If the process is making you dread your own home, something’s off. The key isn’t over-optimism—it’s realism. Be honest about your time, your budget, and your skill level from Day 1.
Timelines stretch. Unexpected costs happen. You’re not lazy for asking for help—you’re smart. Whether it’s a structural repair or just a second set of hands, knowing when to bring someone in can mean the difference between a successful upgrade and a drawn-out mess.
Good planning is quiet. It’s not flashy, but it keeps you sane. Sketch your scope. Pad your budget. Build in breaks. The more you think ahead, the fewer nights you’ll spend staring at half-painted walls or arguing over missing screws.
Do-it-yourself doesn’t mean do-it-alone.
 Claricel Francoisery is an accomplished landscape design specialist and ornamental gardening expert at Garden Nation, bringing over twelve years of professional experience in transforming residential and commercial outdoor spaces into stunning botanical showcases. With a degree in Landscape Architecture and a passion for horticulture, Claricel combines artistic vision with practical horticultural knowledge to create gardens that are as beautiful as they are functional.
At Garden Nation, Claricel shares her extensive expertise in garden design principles, focusing on color theory, seasonal plantings, perennial combinations, and creating year-round visual interest. Her articles guide gardeners through the process of designing landscapes that complement architectural styles, work with local soil conditions, and incorporate native plants that support local ecosystems. She believes that every outdoor space has untapped potential and that thoughtful design can transform backyards into personal sanctuaries.
Claricel's specialties include cottage garden design, contemporary minimalist landscapes, ornamental tree selection, and creating low-maintenance gardens for busy homeowners. She is particularly passionate about helping readers understand the principles behind successful garden design, enabling them to make confident choices when planning their own outdoor spaces. Her writing demystifies design concepts, making them accessible to both beginners and experienced gardeners.
Beyond writing for Garden Nation, Claricel actively contributes to her local horticultural community through garden tours, design consultations, and educational workshops. She stays current with emerging trends in landscape design while remaining committed to timeless principles that create enduring beauty and ecological value in any garden setting.
Claricel Francoisery is an accomplished landscape design specialist and ornamental gardening expert at Garden Nation, bringing over twelve years of professional experience in transforming residential and commercial outdoor spaces into stunning botanical showcases. With a degree in Landscape Architecture and a passion for horticulture, Claricel combines artistic vision with practical horticultural knowledge to create gardens that are as beautiful as they are functional.
At Garden Nation, Claricel shares her extensive expertise in garden design principles, focusing on color theory, seasonal plantings, perennial combinations, and creating year-round visual interest. Her articles guide gardeners through the process of designing landscapes that complement architectural styles, work with local soil conditions, and incorporate native plants that support local ecosystems. She believes that every outdoor space has untapped potential and that thoughtful design can transform backyards into personal sanctuaries.
Claricel's specialties include cottage garden design, contemporary minimalist landscapes, ornamental tree selection, and creating low-maintenance gardens for busy homeowners. She is particularly passionate about helping readers understand the principles behind successful garden design, enabling them to make confident choices when planning their own outdoor spaces. Her writing demystifies design concepts, making them accessible to both beginners and experienced gardeners.
Beyond writing for Garden Nation, Claricel actively contributes to her local horticultural community through garden tours, design consultations, and educational workshops. She stays current with emerging trends in landscape design while remaining committed to timeless principles that create enduring beauty and ecological value in any garden setting.